Thursday, May 26, 2011

VANs Announce the Skyview on RV-12


It is on their facebook page:
http://www.facebook.com/pages/Vans-Aircraft-Inc/121827541221519
But with no firm date! Speculation is that it will take until Oshkosh for the complete product release. In the mean time I can gawk at my future instrument panel:


With the Skyview no need for GPS or transponder, it's all included!
The up side: there is room on the panel for steam gauges, hurray!
(just don't put them in before your A/W certificate is issued)
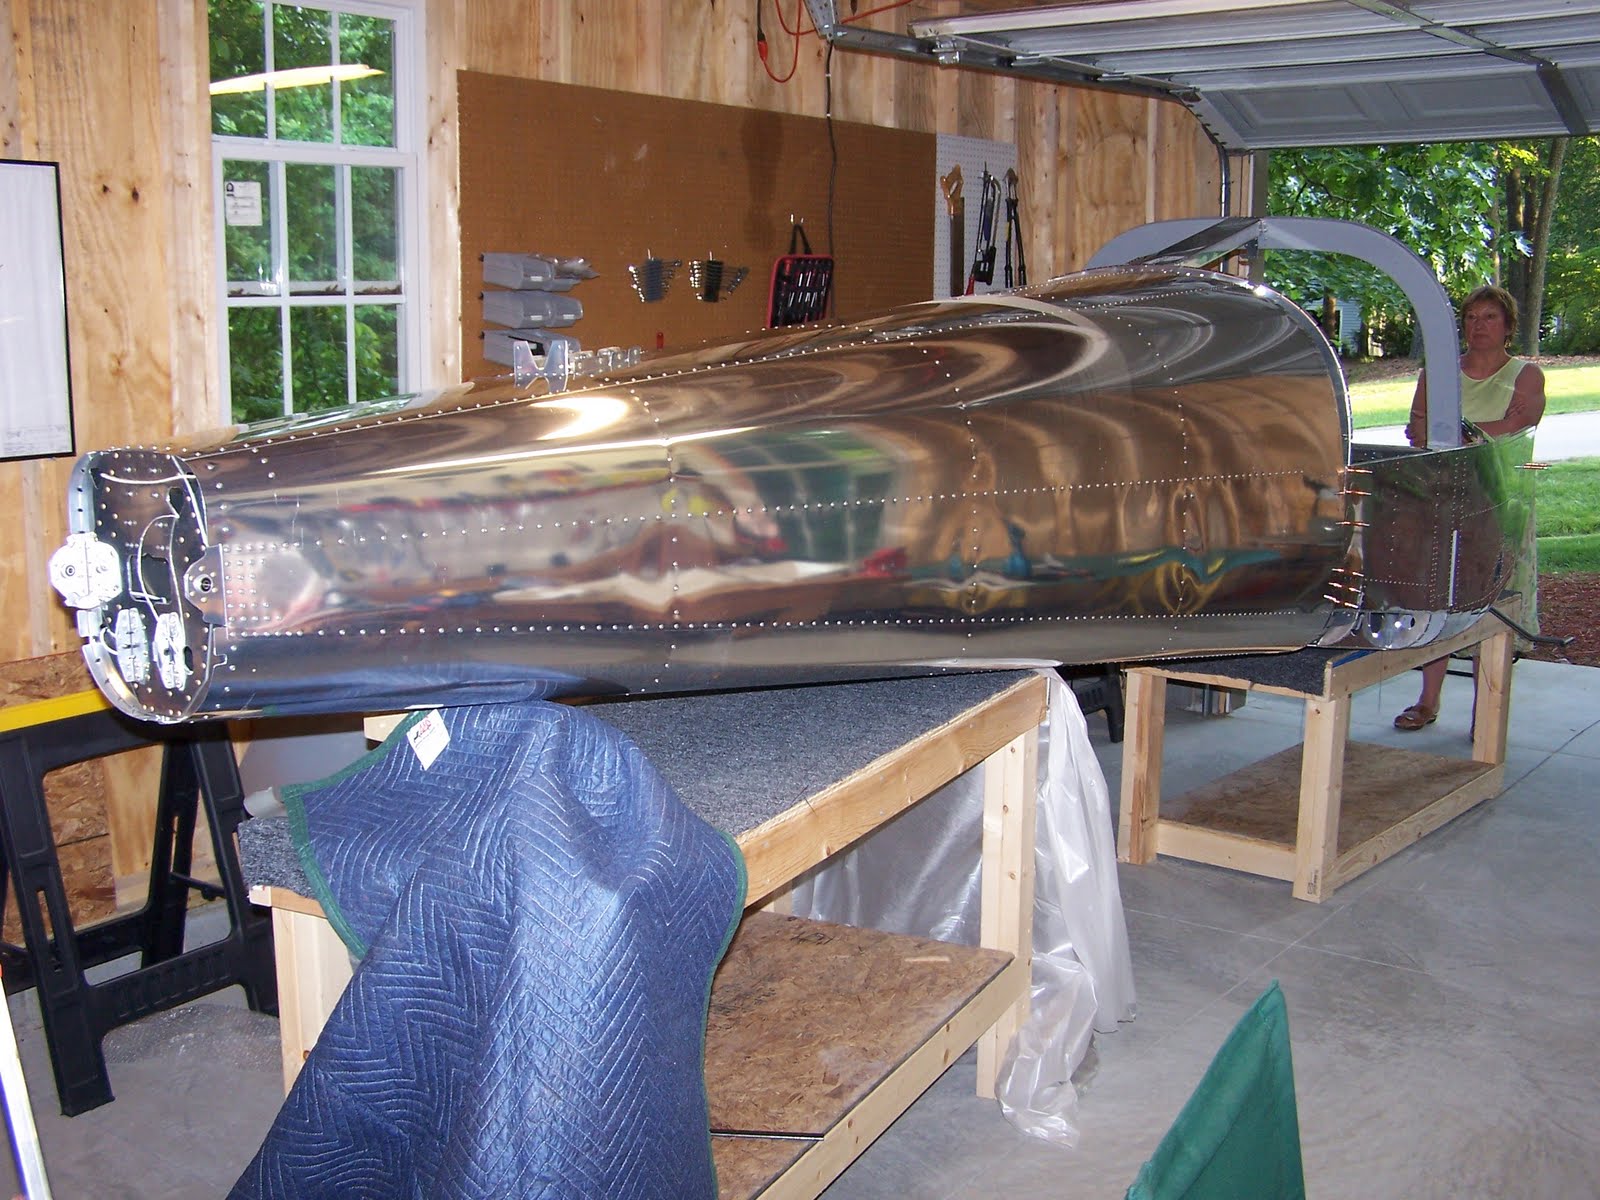
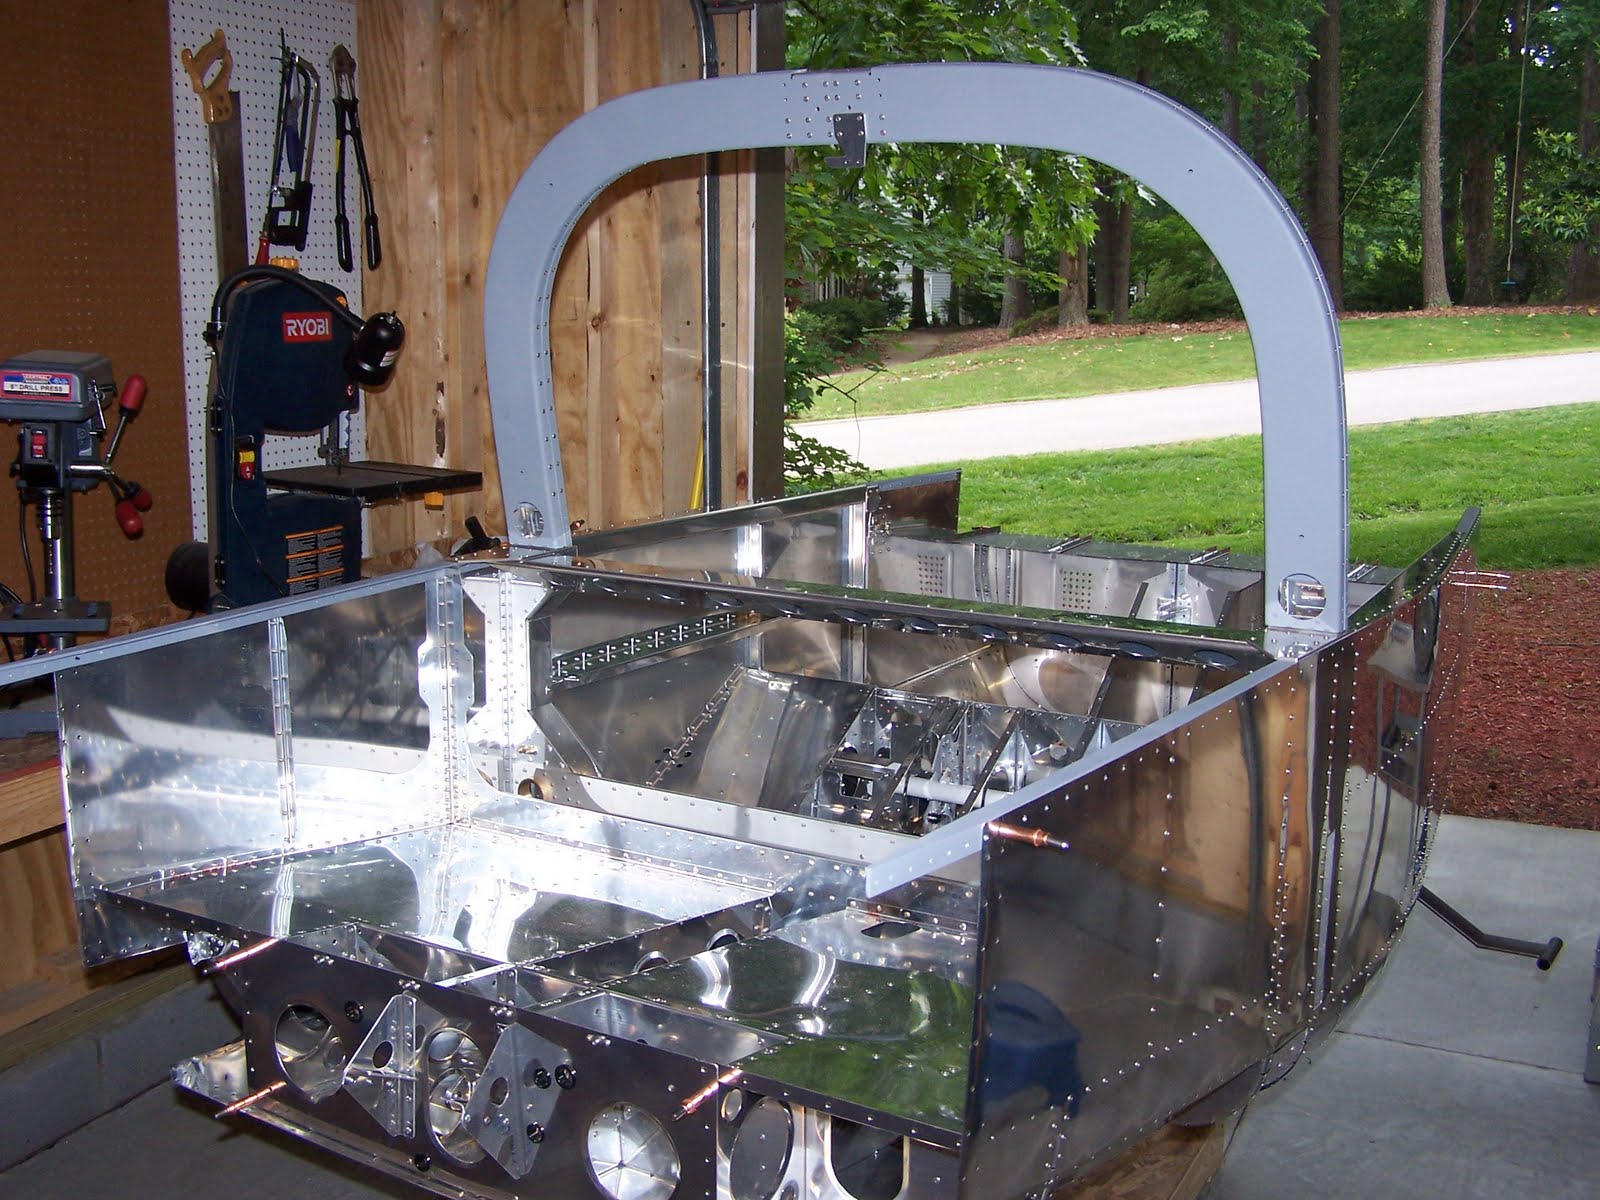
EAA Chapter 1114 Restoring Stits Skycoupe

I decided to be part of the project.
Details on the blog http://eaa1114.blogspot.com
You will likely find some commonality with this blog!

Sunday, May 22, 2011

Done with Section 24


And it shows!
I now have something that looks like a plane in my workshop.
Unfortunately this does not leave a lot of room to work around. Advice to prospective builders: my shop is 14ftX24ft. I think 18ftX32ft would take me further before renting an airport hangar which will add the burden of commuting to the cost.

OK, I cheated a little, the tailcone is not attached yet but this gives a good idea of the size of the plane (minus wings and tail feathers!)

Front view:


All being the result of the following pages:

voila

Friday, May 20, 2011

Stits vs RV-12: and the winner is....


Here is a side by side comparison of the specs and performance of the two planes and do not hold your breath:
(You will be able to read better if you click on the picture to enlarge)


Thursday, May 19, 2011

Plane move training


I consider this as a training for when it is time to move my RV-12 out of my workshop
Our EAA chapter 1114 got a donation of a Stits Skycoupe airplane by member Tom Hall. We had to move the plane which was never finished from WWW airport to Cox. We worked as a team under the leadership of Master Plane Mover Terry Gardner who is also an EAA tech adviser. Here are the pictures of the movers and of the moved:


Wednesday, May 18, 2011

Section 24 on the way


Although I spent quite some time lately in my shop, I somewhat neglected to report on my progress. As you can see, section 24 is all about the rollover structure over which the canopy will set. The rollover assembly made of thick aluminum profile reinforced by two doublers is supposed to protect the pilot in case the plane flips. Lots of deburring, countersinking, priming and riveting for a small amount of material. Very little progress visible for a long time which explain my lack of motivation for posting.

I had a hard time fitting the rollbar assembly into the base because I was 1/4 inch short in width. I had to use a clamp to stretch the rollbar more open. Once the rollbar was positioned over the lower fuselage it looked like this:
Doing the step 3 of page 24-3 meant that for match drilling the holes facing inside the fuselage I had to climb into my plane for the first time!
... then I had to undo everything to debur the holes of the rollbar base and prime the bases.


This is where I stand tonight. Tomorrow I will put the rollbar in place for the last time, hopefully.

Wednesday, May 4, 2011

Done with Section 23


That is the lower section of the fuselage. I had the satisfaction to fabricate and install the cute vent doors that are, in VANs tradition low drag, see the pictures:
Here door in closed position:


Here in the opened position:


To work on the upper fuselage I had to shorten one of my EAA tables:

Sunday, May 1, 2011

Pages 23-03, 04, 05, 06 Completed

I have have neglected this blog and have to make up now. To my defense, these three pages did not present any big challenge, just some cumbersome process and adjustments that are not worth elaborating because each builder will have to go through them on his own term.
Just for the sake of good recording, let's display these pages.

Page 23-03:


Page 23-04:

Page 23-05:

Page 23-06: By far the most challenging because it's where everything comes together. Some filing was necessary to get the longeron flush with the roll bar attach plate. VANs asked for making everything aligned but does not specify how to do it. After analyzing the problem it became clear that a bit of filing was required. Filing being irreversible you always want to tip-toe into it, think twice and file once!

And here is where I stand now:

Rear View:

Front View:
You see the side skin with the openings for the wing. Unfortunately the opening for the wing spar is barely visible even when enlarging. It was created in page 23-05 by cutting into the skin with... snippers!
Note the step at the bottom of the fuselage. It will be used to step into the plane with the wing as the next step before stepping inside.
In the front is the lower part of the firewall.

In summary, I have the lower half of the fuselage completed, next comes the roll bar structure for the upper half.
For the anecdote a passer-by asked me if I was building a boat and it's true that at this stage the fuselage looks more like a boat, albeit an expensive and unduly complicated one!