The components I used, an Al angle 2X2 1/8" thick with one side cut to 1"wide and a counterplate also 1" wide:

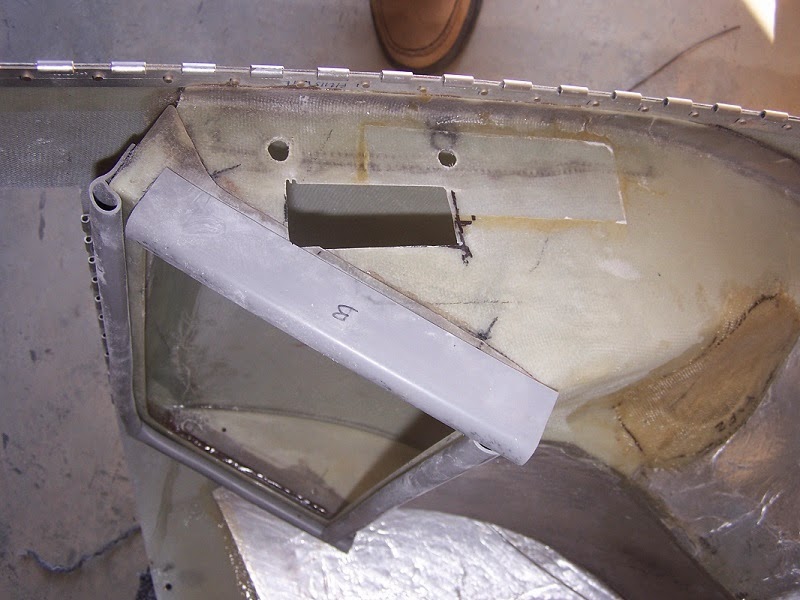
Cuts in the fiberglass of the tunnel:
Regulator secured on the angle:

Installed inside the tunnel:

And connected including a ground cable and lower cowl installed:

The ground cable goes to the battery housing:

As I decided to leave the initial connector untouched, I connected the extension I made to reach the tunnel with spade connectors but I had to secure the spade connectors with tie-wraps or risk a devastating disconnection
for the alternator. On the picture you can see the stand-by Regulator located at the initial location on the firewall. In case of failure of the active located in the tunnel this standby unit can be switched into active by disconnecting the failed unit and reconnecting the standby.

I have so far tested the new configuration in flight and had no difference in the amperage reading on Skyview. Only time will tell if this results in a better reliability but I believe it will.


