Thursday, March 31, 2011

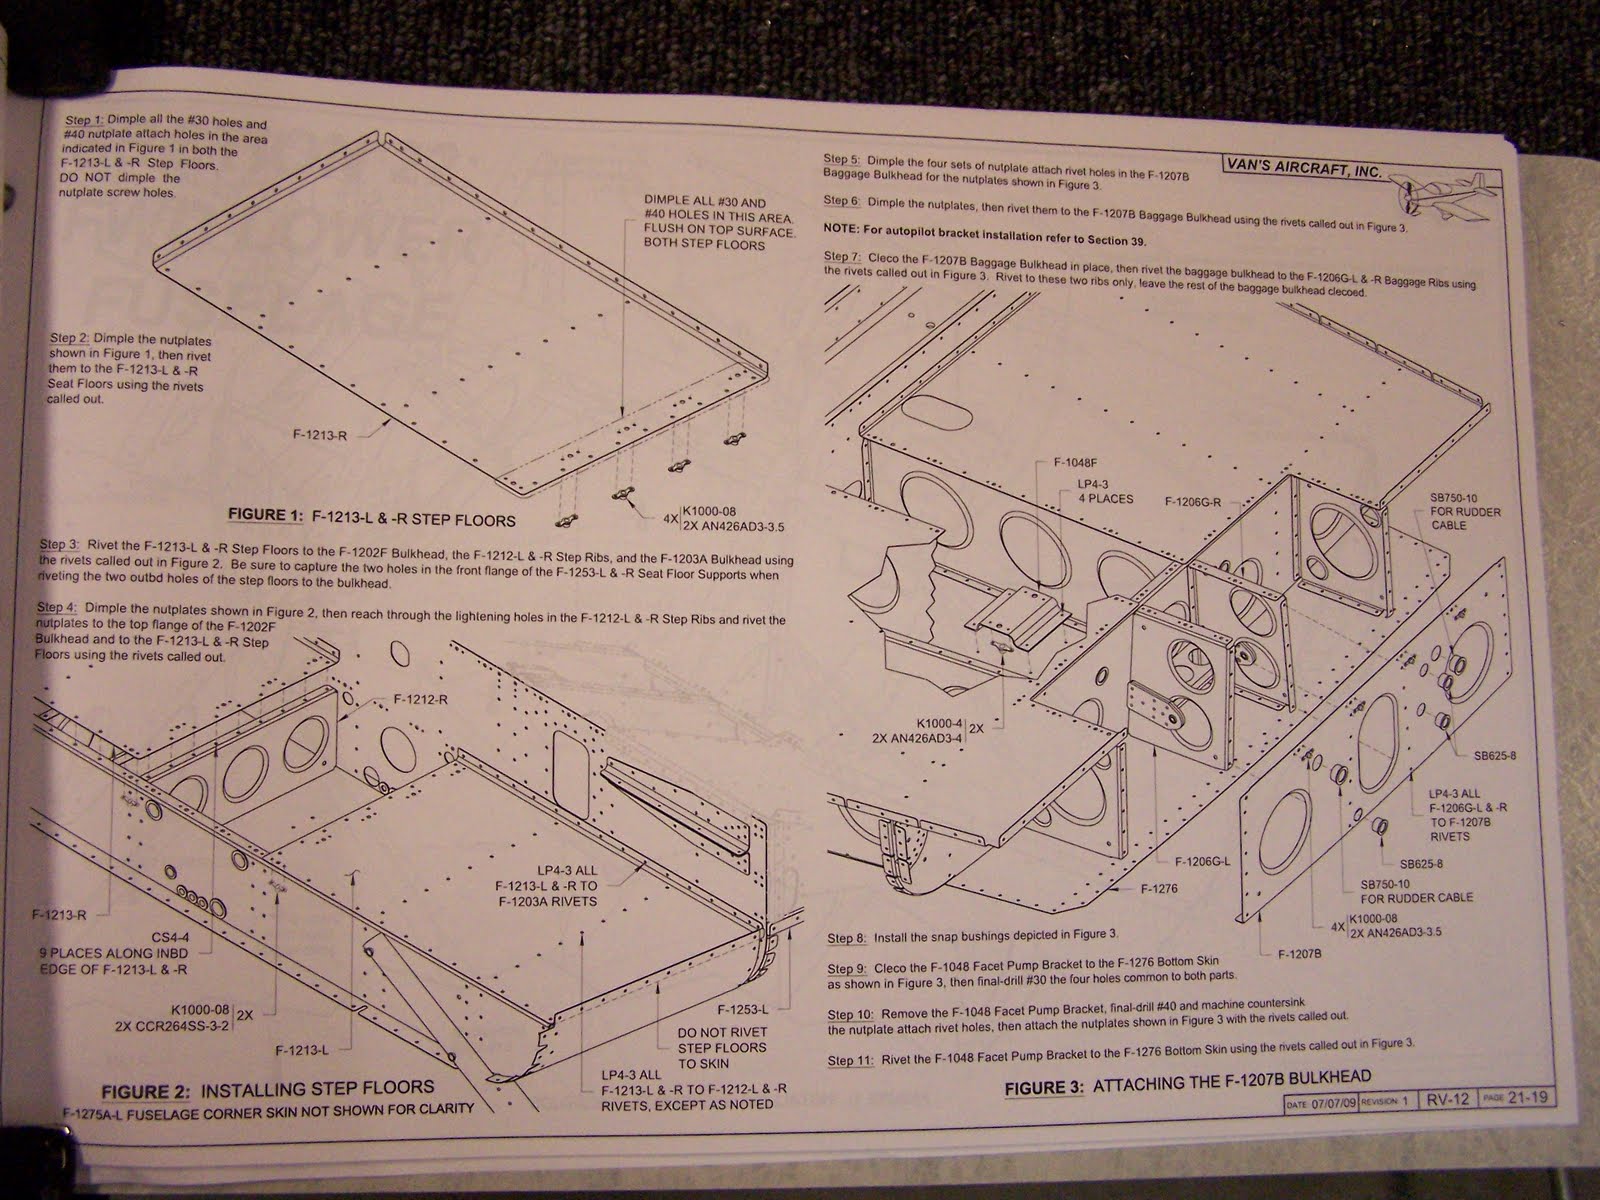
Page 21-19


Step 4 is a bit tricky as the lighting hole is quite undersized for my hands:

This is the lighting hole:


This is my hand in the lighting hole:

Actually only 2 fingers will fit, tough to hold the nutplate in place


You need lots of trials and patience but you can do it!

Working on my 2010 Tax Filing

What more do I need to say?
Yes, I know, at some point I will have to pay the NC sales tax on my -12
...

Wednesday, March 30, 2011

Pages 21-17 / 21-18


Nothing particular with these two pages, just the typical cycle of small parts manufacturing, riveting and deburring. Interesting to see the steps attached although there is not yet a lot to step into this fuselage.


For Step 9 Page 21-17, I did not seal the openings with the gas tank sealant because I don't intend to build the gas tank now that it is an option factory built. I used "Great Stuff" which worked great, as advertised!


Sunday, March 27, 2011

Why Vieille Burette?

Someone looking at this Blog may wonder why this title. I explained it at the beginning but this explanation is now buried deep: Here it is

Saturday, March 26, 2011

A mystery visitor

This is a quiz for EAA 1114 chapter's folks: can you identify this mystery visitor who invested one rivet (just labor, not material!) in my plane?

Thursday, March 24, 2011

Page 21-16 : I hit the bottom!

This is what's at stake:

First challenge, there is a gap of about 1/4 inch between the holes of the skin and the holes of the ribs over the baggage compartment (lower half on the picture). After analysis, this is caused by the assembly sitting on the table with both ends pushing up. Having the assembly resting on a 2X4 positioned in the middle tunnel allowed the baggage area to bend enough to adjust for the gap.
I clecoed the bottom skin before completing step 2. This allowed to work on a stable skin while riveting the nutplates.
After hitting the bottom I see nutplates hell!
There are four nutplates per access hole, 5 access holes time 2 rivets: a total of 40 AN 426 rivets to set with the squeezer. First let's get orbganized, the AN426 rivets are easy to set so I don't need my handle extensions which makes the squeezer lighter to handle. Second I need to inspect the nutplates under the skin to see if they are well positioned before riveting and to check the rivets once they are set. here is how this is done:


I lock the nutplate with a self locking miniplier and inspect below with a miror before and after squeezing.
Here is the result one hour and 20 nutplates later:
If you enlarge you will see the 4 nutplates around each hole.


Now I'm ready to rivet the bottom skin but it's too late so I will call it a day, a day in which I hit bottom, saw nutplate hell and survived to face more building challenges... tomorrow

Wednesday, March 23, 2011

Page 21-15 Let's go upside down!


All page steps done in half a day. Just needed help from Michèle to turn the fuselage upside down.


And here is the result: