Although I did not post on this blog in more than a month, a lot has happened and progress was made.
Beside the work on the canopy, I was one of the 16,000 participants to the Sebring LSA Show in January. It was an opportunity to attend a Dynon class on the Skyview glass cockpit which will equip my RV-12. I came back convinced that the RV-12 is one of the best Light Sport airplanes on the market and definitely the best Kit. I also found that two major components of my plane: the Rotax engine and the Dynon Skyview glass cockpit have been pervasively adopted by the LSA industry with their competitors just nibbling at the niche market's margin.
On the flying side I flew for the first time into Class C's RDU airport (which is just 5 miles from my home, although I had to drive first 40 miles to KTTA where I flew from on the Allegro). On take off from RDU I was behind a Boeing 727... I felt so tiny!
I also found a plane for transition training in Salisbury, NC. It is a SportCruiser, a low wings LSA that flies just like the RV-12: same engine, same weight, glass cockpit, with light controls and differential braking. I took my first flight with Davis Amos (owner of Amos aviation) as CFI and found it much easier to fly than the Allegro. With 10 Knots of cross wind I had no problem on landing although it was my first flight.
Back to the Kit building, as of today my canopy work is finished as shown in the pictures below. There is lots at stake when working on the plexiglass in a cold workshop and I therefore proceeded very carefully which explains the weeks it took to complete.
Here the canopy has been drilled and positioned for screwing and riveting. The clearances are measured in 1/16 and 1/32 of an inch a very tedious and precise phase with lots of grinding, fitting, regrinding, etc...
This is all done, no more clecos!
A view from the inside, canopy closed:
These are the tools of the trade:
A little secret learned from Mark Glazer (EAA 1114): no filing, no sawing, just grinding with fine grit paper or scotchbrite disks, all drilled holes deburred with tiny fast spinning grinding stones.
A little help to keep the plastic warm: a thermostated radiator inside the closed cockpit:
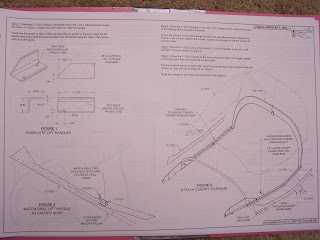
Here are the instruction pages involved and now checked:
A note to the builders:
When fastening the canopy to the rear bow, I faced a problem not mentioned in the instructions: The holes in the rear bow that were punched in the factory are slightly too small for the screws. This results in the screws acting like a tap although the fastening is provided by a nut. This results in the screw head not always being flat on the plastic surface. After calling VANs, I was instructed to enlarge the holes with a #29 drill bit... one more drilling, canopy removing, deburring, canopy mounting cycle!
Want to know how many such cycles I had to go through? Ask my wife Michèle, she helped me carry the canopy on and off!


No comments:
Post a Comment